
A Step-by-Step Guide to Professional Video Color Correction


Understanding the Basics of Color Correction
Color correction is a crucial step in video production that ensures your final product looks polished and professional. It involves adjusting the colors in your footage to match a consistent standard, correct any color imbalances, and enhance the visual appeal. Understanding the basics of color correction can significantly improve the quality of your videos.
Before diving into the process, it's essential to know the difference between color correction and color grading. While color correction focuses on fixing color issues, color grading is about adding a creative color scheme to your footage. Both processes are vital, but this guide will focus on color correction.
Preparing Your Footage
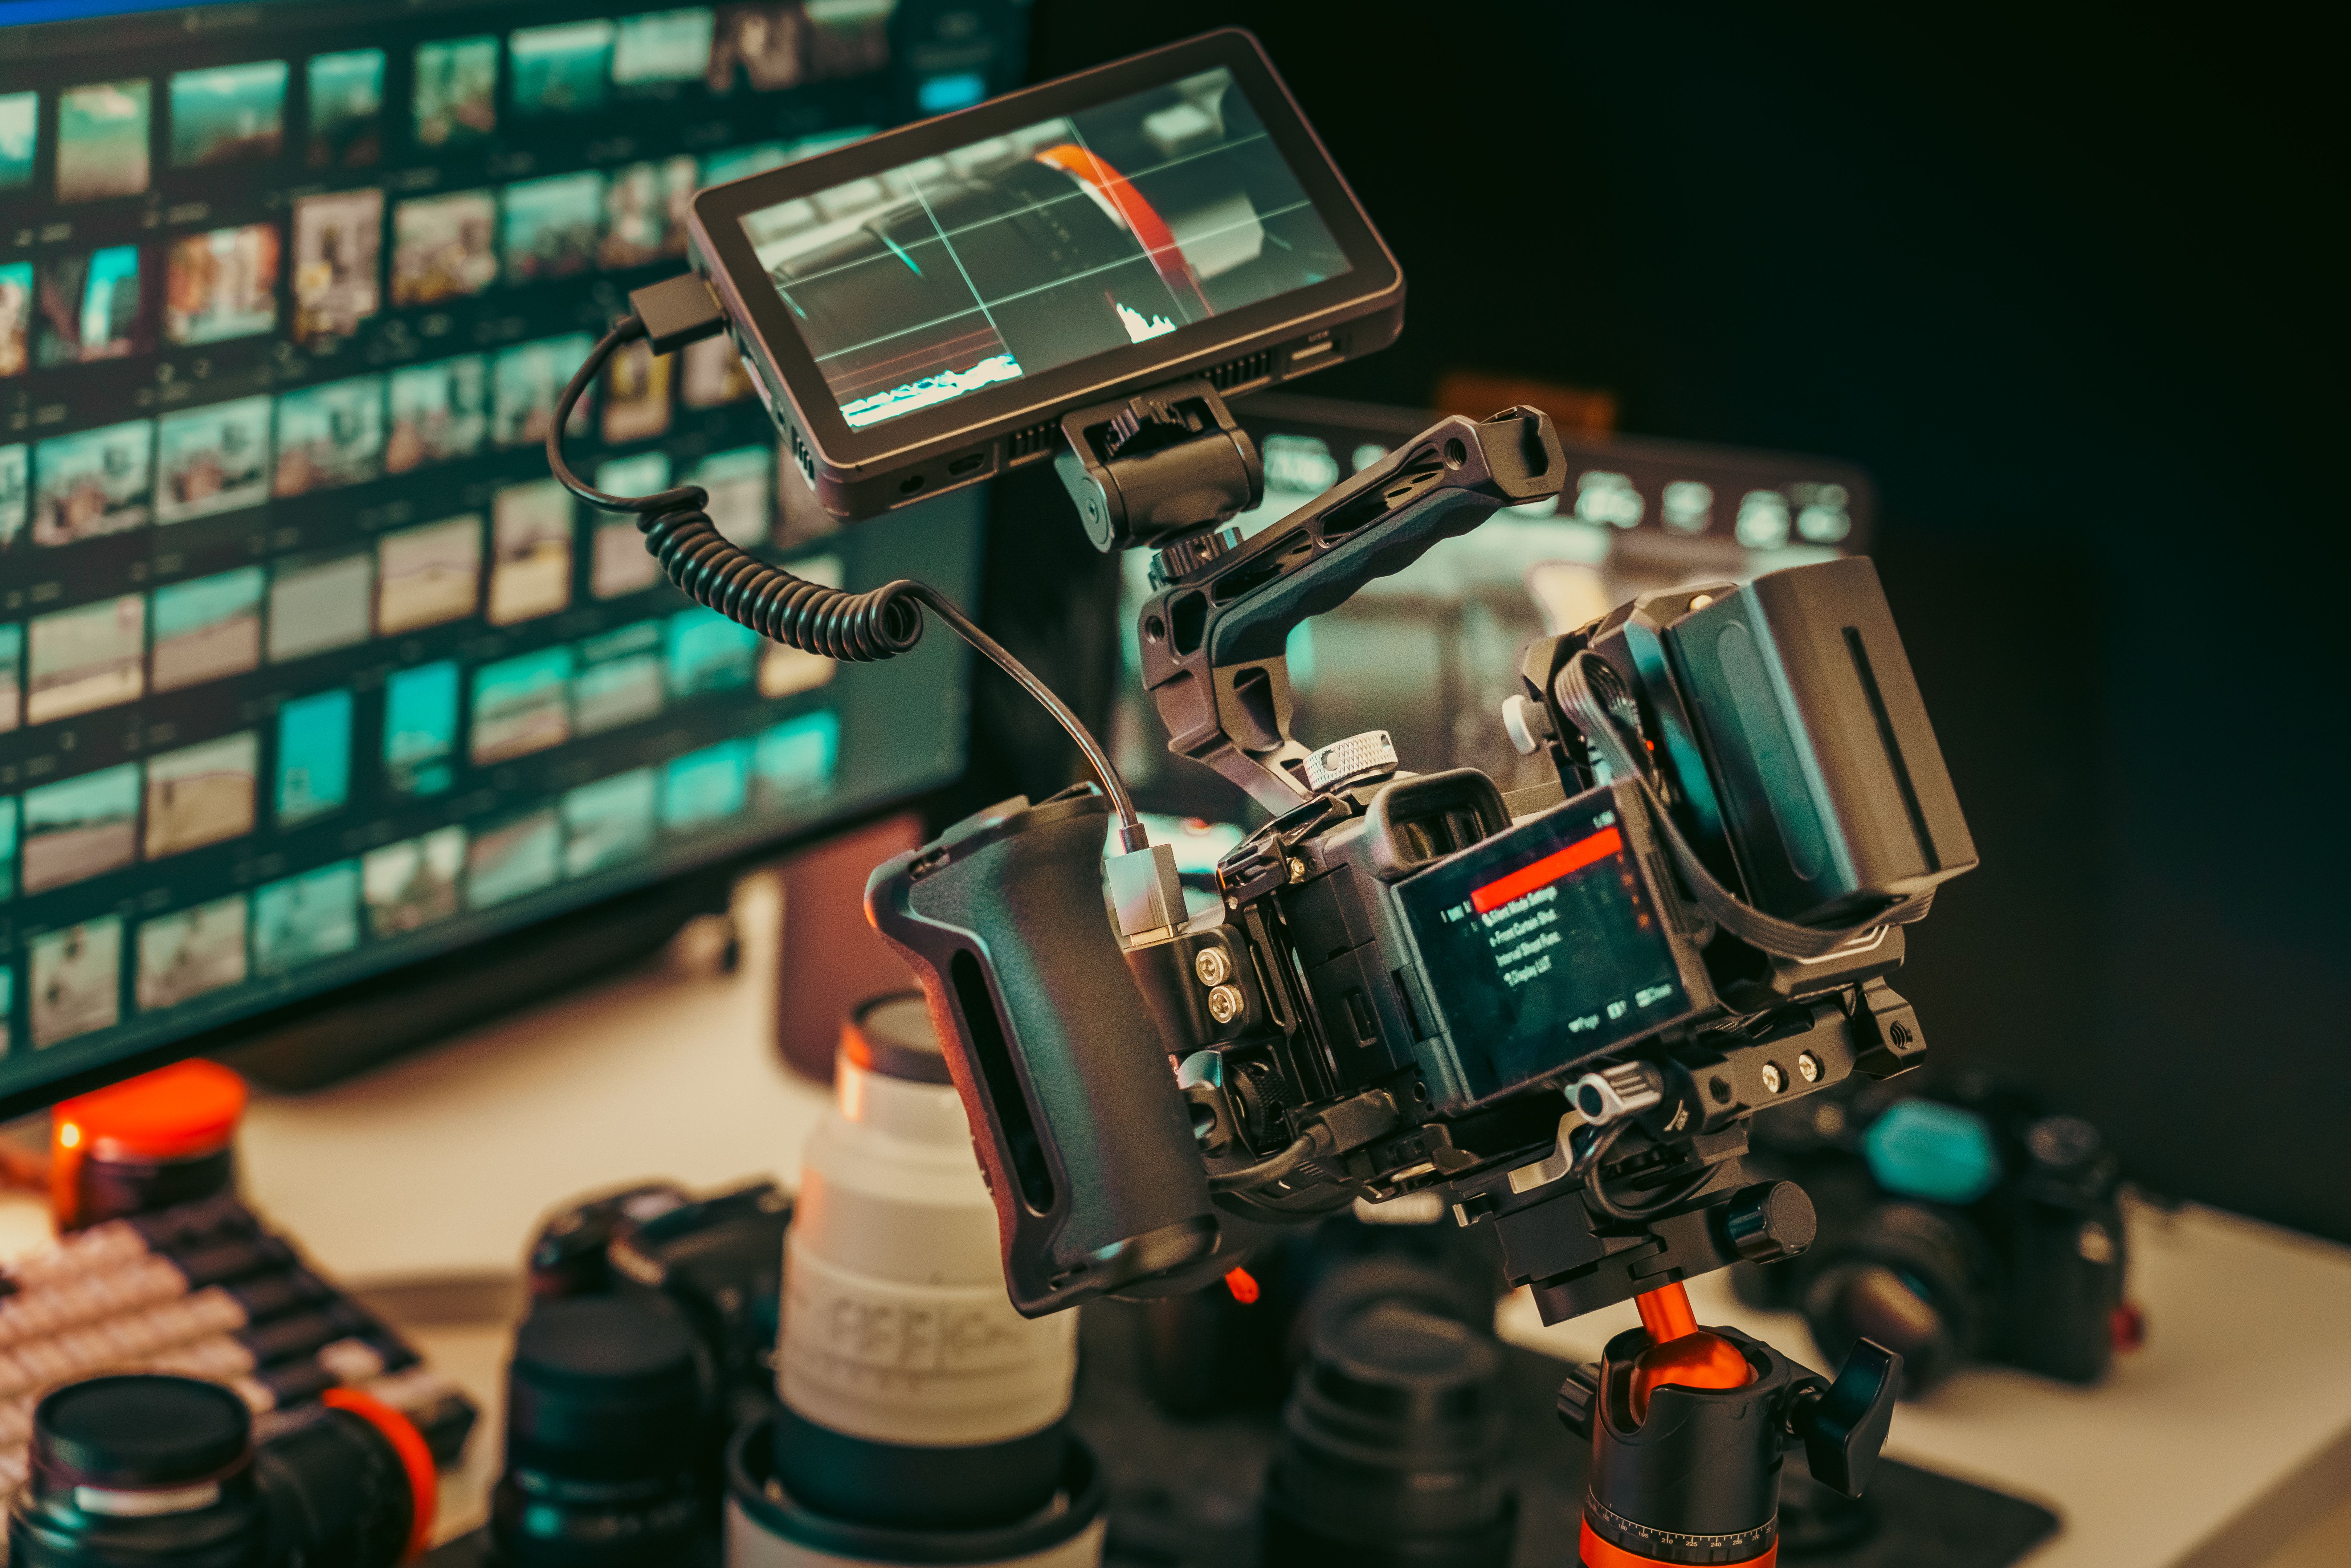
Preparation is key when it comes to color correction. Start by ensuring your monitor is properly calibrated. This step is crucial because it ensures that the colors you see are accurate, which is critical for making precise adjustments. You don't want to spend hours perfecting the colors only to realize they look entirely different on other screens.
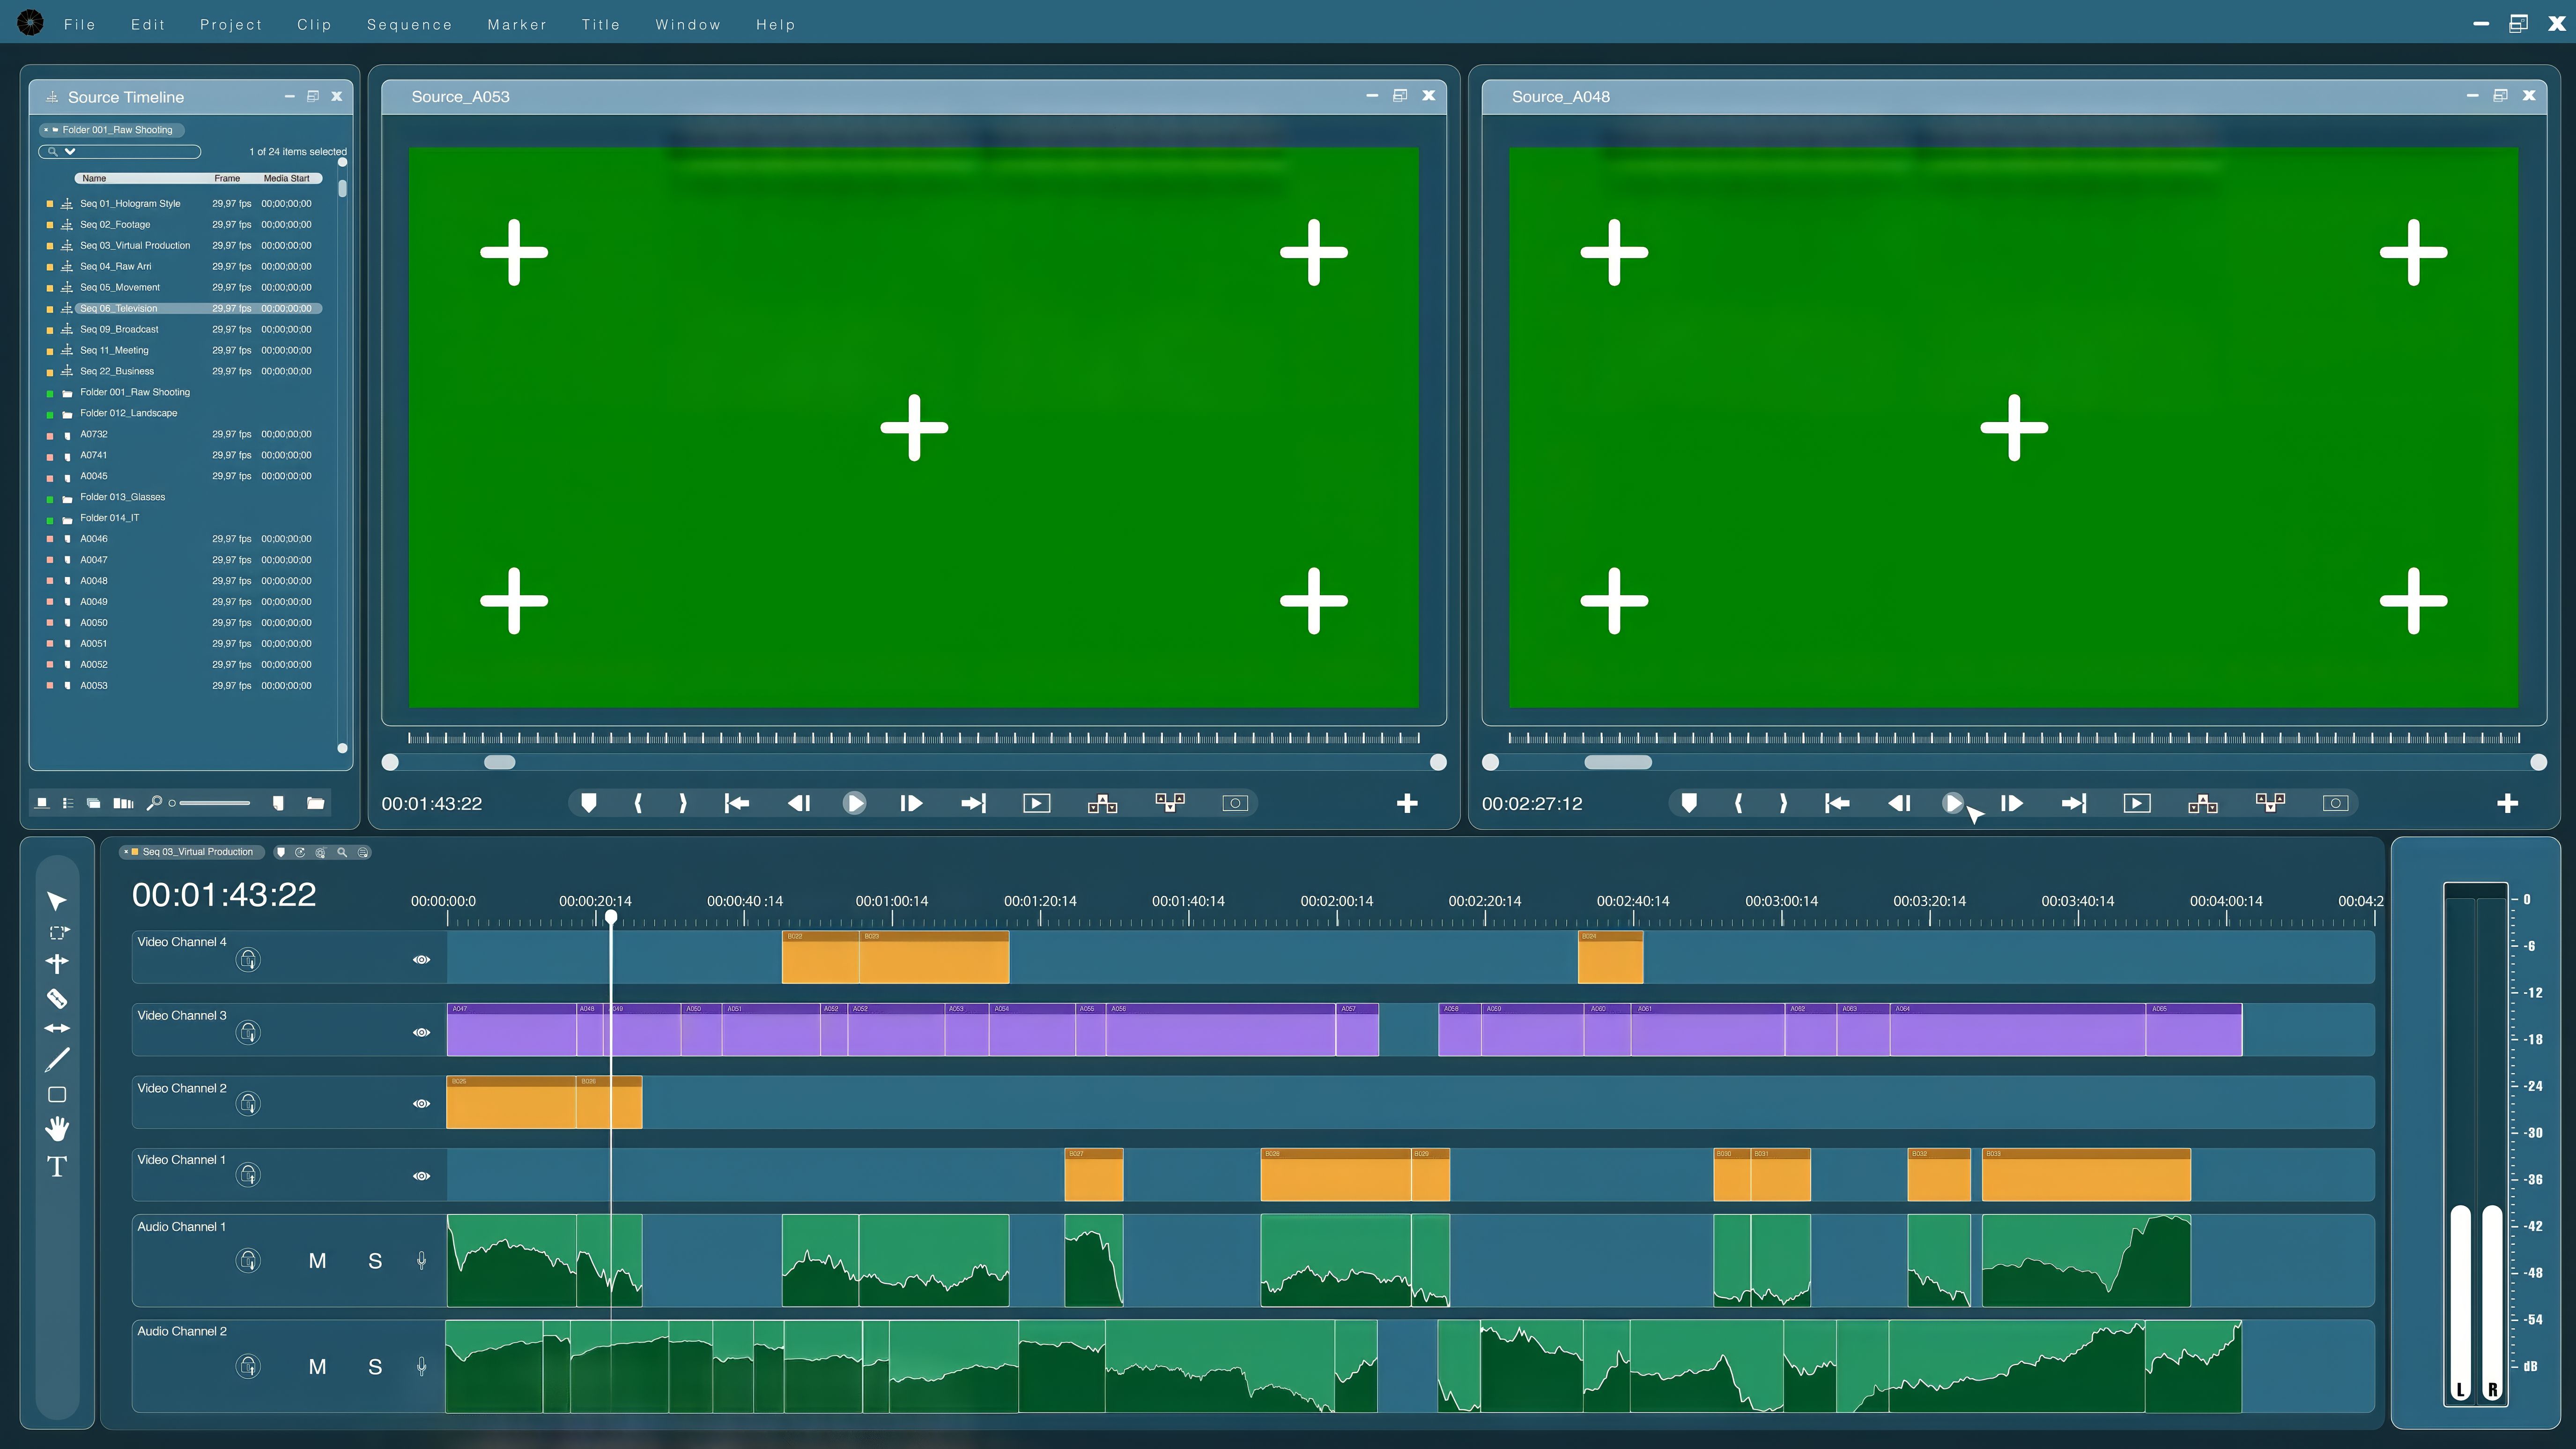
Once your monitor is calibrated, import your footage into your editing software. Organize your clips and create a timeline that makes sense for the story you're telling. This way, you can easily navigate through your project as you apply corrections.
Choosing the Right Software
Selecting the right software is vital for effective color correction. Popular options include Adobe Premiere Pro, DaVinci Resolve, and Final Cut Pro. Each has its strengths, so choose one that suits your workflow and budget. DaVinci Resolve, for instance, is known for its powerful color correction tools and might be ideal if you need advanced features.
Applying Basic Corrections
Start with basic corrections like adjusting the exposure, contrast, and white balance. These adjustments lay the foundation for more detailed work. Use scopes like the waveform and histogram to guide your corrections, ensuring that your footage is neither overexposed nor underexposed.
White balance is crucial as it ensures that the colors in your video appear natural. Adjust it by using the white balance tool in your software, selecting a white or neutral area in your footage as a reference.
Balancing the Colors
Once the basic corrections are in place, focus on balancing the colors. This step involves tweaking the shadows, midtones, and highlights to ensure your footage has a consistent and natural look. Use the color wheels or curves in your software to make these adjustments.

Refining with Advanced Techniques
After balancing the colors, you can refine your footage using advanced techniques. This includes secondary color correction, where you target specific colors for further enhancement or isolation. Use tools like masks and qualifiers to make precise adjustments without affecting the entire frame.
Consider using LUTs (Look-Up Tables) to apply specific color treatments to your footage. While LUTs are more commonly associated with color grading, they can also aid in achieving a consistent look during color correction.
Finalizing and Exporting
Once you're satisfied with your corrections, it's time to finalize and export your video. Review your work on different devices to ensure the colors appear consistent across platforms. Adjust as necessary, then export your video using the appropriate settings for your intended platform.
Remember, color correction is an iterative process. With practice and patience, you'll develop an eye for color that will significantly enhance the quality of your videos.